Rianne wolswinkel logo

Pose of the Month May:
Shoelace

With shoelace pose this month, you'll explore your buttocks area. A place where tension is easily held and that can do with some more attention.

Bringing awareness to the butt area 🙂

Spring is full on happening, even though April has been a pretty chilly month. Still, there are lambs in the fields, little ducklings in the ponds and the trees have turned green again.

For this month I chose Shoelace pose, staying with the emphasis around the hip area, but quite different from Swan. This one goes more into the butt tissues, where we also hold ‘stuff’.

restorative yoga pose shoelace

How to practice
Shoelace:

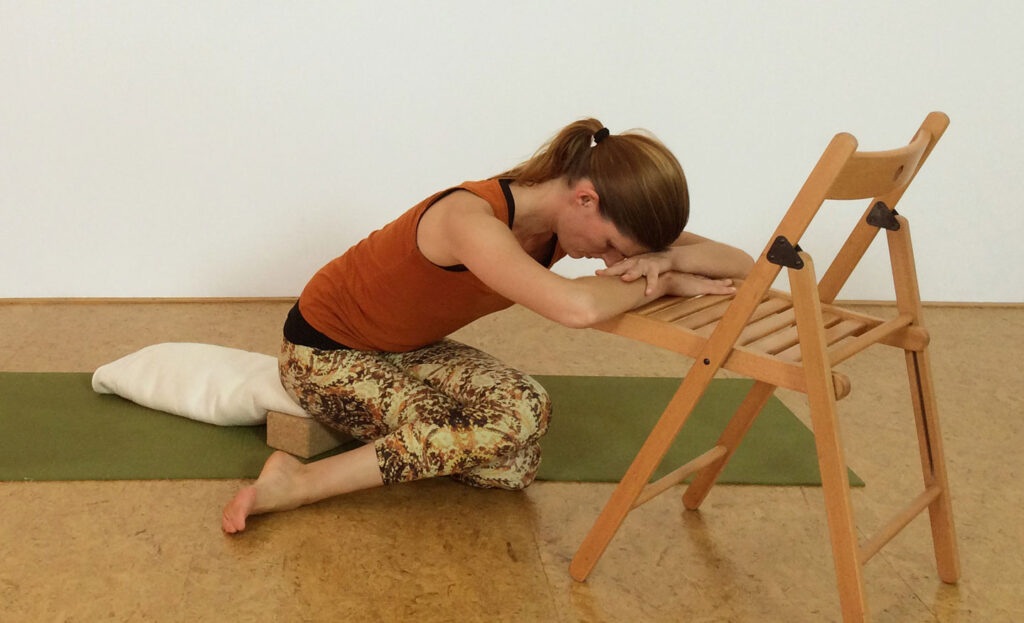
There are different ways to get into this pose, I’ll describe the one that works best for me. Come to hands and knees and place the block(s) between your ankles. You can add a blanket on top to soften the seat a bit. Bring both lower legs to the right of the blocks. Cross the whole right leg behind the left, so that the right knee is behind the left. The left foot ends up on the right side and the right foot on the left of the blocks. Slowly bring your sitting bones towards the blocks, leading with the left sittingbone. The pelvis and spine stay more level when you lead with the left sittingbone.

Make sure that when you find your seat on the block(s) the knees are still resting on top of each other. If they are not, elevate your seat by adding a block or blanket until your legs can be relaxed with knees touching, while you’re in the pose. If this is uncomfortable for the knees, come out of it and you can practice pretzel pose.

Be comfortable and enjoy!

When you’re sitting, you can choose to sit upright with a long spine or bend forward a bit, resting partly on your hands. If you choose to bend forward, make sure you tilt from your pelvis (rolling towards the front of the sitting bones) while you keep your spine long, so that there is still space for the breath. Keep the sitting bones firmly grounded on the block. Be as comfortable as you can make yourself in this pose.

Bring your attention towards your breath and the sensations in your body. Observing them and noticing how they change over time. Stay with this for at least 5 minutes. Notice whether your ribbasket is expanding in all directions. Feeling the movement in the front, sides and back of the torso. Take a moment to become aware of the end of the exhalation, maybe it immediately transitions into an inhalation, or maybe there is a pause. If there is a pause, observe what happens during the pause after the exhalation. And what happens after the inhalation? How do those pauses feel?

If, at any point, the sensations become intense, or when you notice that you are holding your breath continuously, either change the pose (elevating you seat usually helps) or completely come out. To come out of the pose, slowly bring your weight forward towards your hands, untying your legs and come back to hands and knees. Bring yourself to a comfortable sitting position or childspose and take a couple of breaths to notice the effect of the pose. Whenever you are ready, repeat on the other side.

If you enjoy these kinds of practices, check out my online self-guided journeys. I’ve recorded The Art of Not-Doing restorative packs for you. With these packs you can chose which 20 min restorative practice you want to practice. It also included separate audios with a different guidance once you’re in the pose, to vary the practice.
You can find them here in the shop.